As the realm of online streaming broadens, Roku continues to be a major player. Known for its range of devices that simplify streaming content on your TV, Roku also offers various features to ensure user convenience and security.
One such feature is the Roku PIN (Personal Identification Number). In this SEO-optimized guide, we’ll explore what a Roku PIN is, how to use it, how it interacts with platforms like YouTube, and how to reset it if necessary.
What is a Roku PIN?
A Roku PIN is a four-digit code you create in your Roku account settings. It’s designed to prevent unauthorized users from adding or removing channels or making purchases from the Roku Channel Store.
How to Use a Roku PIN for YouTube
The Roku PIN isn’t specific to any channel, including YouTube. It’s mainly used for purchases and channel changes on the Roku platform.
However, when you add YouTube (or any channel) from the Roku Channel Store, you may be asked to enter your Roku PIN if you’ve enabled the ‘Channel Store PIN’ in your settings.
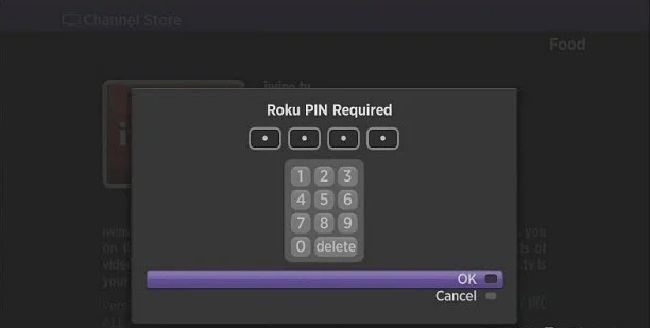
Why is Roku Asking for a PIN to Add a Channel?
Roku requests a PIN when adding or removing channels to protect your account from unauthorized changes. It’s especially helpful if you share your Roku device with others and want to maintain control over the channels that get added or removed.
Roku PIN, Password, Code, and Number – What’s the Difference?
The terms ‘Roku PIN’, ‘code’, and ‘number’ usually refer to the same thing: the four-digit security PIN associated with your Roku account. On the other hand, your Roku ‘password’ is what you use to log into your Roku account, separate from your PIN.
How to Reset Roku PIN
In case you forget your Roku PIN or simply want to change it, follow these steps:
- Log into your Roku account: Visit my.roku.com and enter your account credentials.
- Navigate to ‘PIN Preference’: Under the ‘Update’ button in the ‘PIN Preference’ section, click ‘Update’.
- Enter a new PIN: Here you can choose how to use your PIN and set a new one.
- Save your changes: Click ‘Save Changes’ to update your PIN.
How to Find Your Roku PIN
You can find your Roku PIN by logging into your account on the Roku website. As described above, go to the ‘PIN Preference’ section under your account settings.
Resetting Roku Without a PIN
If you need to reset your Roku device and don’t know your PIN, you can still do it directly from the device:
- Press the Home button: On your Roku remote, press the Home button.
- Go to ‘Settings’: Navigate to ‘Settings’ > ‘System’ > ‘Advanced system settings’.
- Choose ‘Factory reset’: Here, you’ll see an option to perform a factory reset. Follow the prompts to reset your Roku device.
Remember, a factory reset will erase all data from your Roku device, including channel installations and preferences.
In conclusion, your Roku PIN is an essential layer of security that safeguards your device from unauthorized changes or purchases.
Being familiar with how it works and how to reset it can help you ensure a secure and personalized Roku streaming experience. Happy streaming!


